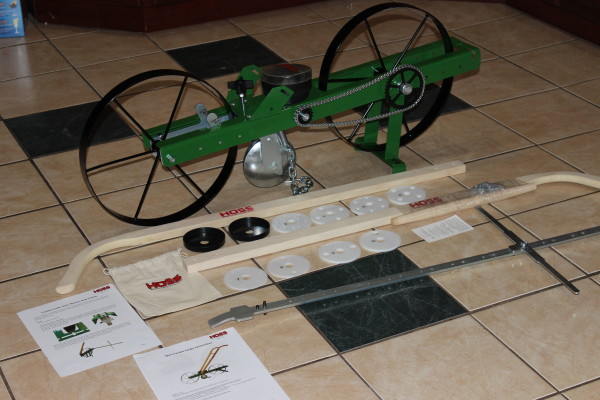
Last summer our garden got some TLC from the Hoss Hoe. This year we welcomed the addition of the Hoss Garden Seeder by Hoss Tools and hope to someday have a no-till garden.
The Hoss Garden Seeder features Amish-crafted handles, a powder-coated steel frame, six planting discs, and 15″ steel wheels. There is an optional row marker and additional seed plates available too.
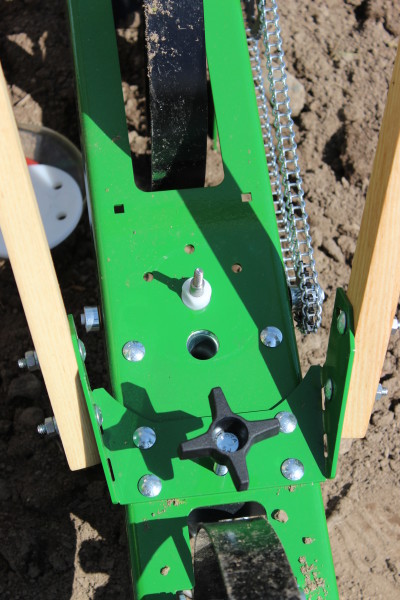
Once the handles have been mounted on the seeder body, it is then time to assemble the seed hopper. The large hole on the body is where the seed drops through from the hopper. The three small holes are for two hopper positions. One position is for planting and the other is for pushing/transporting when the seeds are in the hopper. The second position prevents the seed from dispensing.
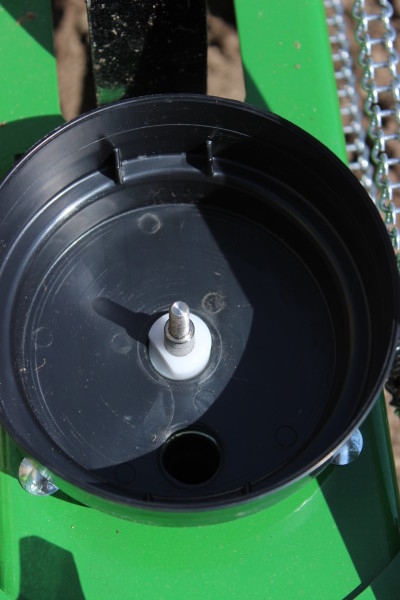
When planting, the hopper body and hole to seed tube must line up.
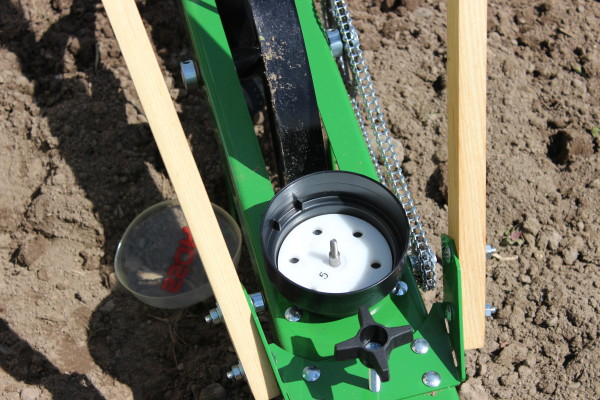
Then place one of the various seed plates in the hopper.
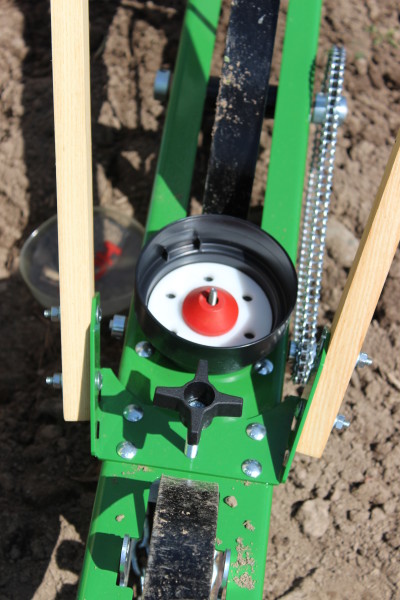
A cone is then added. It keeps seeds away from the center of the hopper.
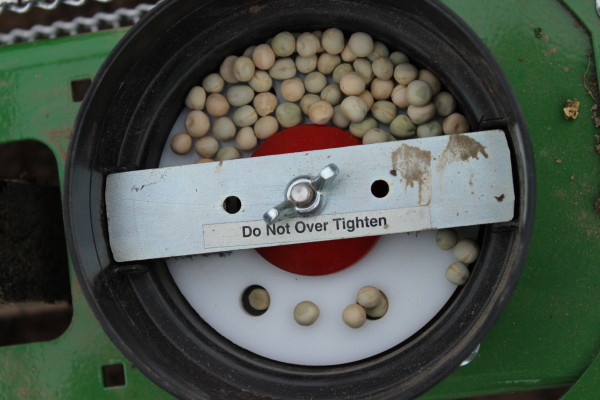
A brush plate is then placed on the unit. A wing nut holds everything together and use caution to not over-tighten. There is a plastic seed cover included, but it was removed to take some of the images included in this post.
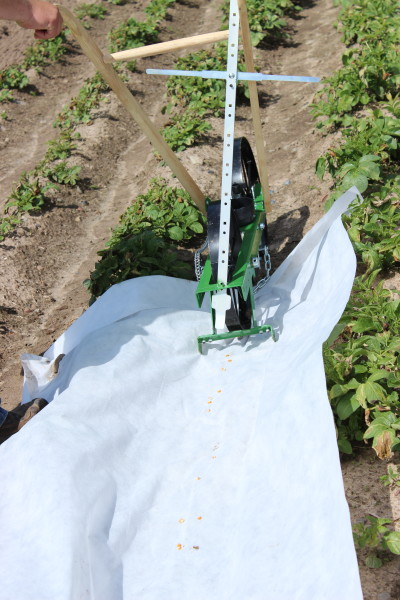
It is recommended to use a tarp or other hard surface to determine the seed spacing and to make sure you are using the proper seed plate for the job.
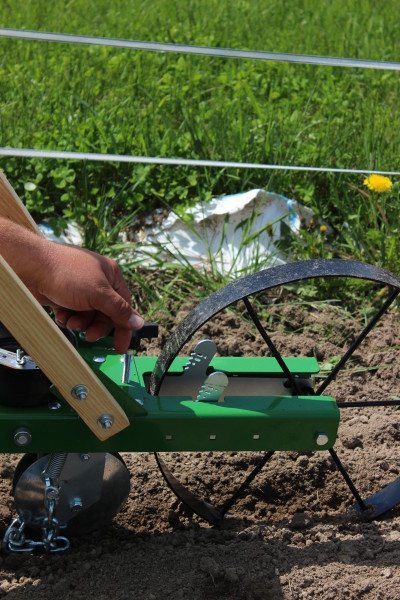
A turn knob on top will allow you to adjust for the proper seed depth. The depth gauge is in 1/4″ increments and goes up to 1 1/2″.
There are two disc coulters that make a trench for seed placement. A metal drag chain behind covers the seed and then the rear wheel packs the ground.
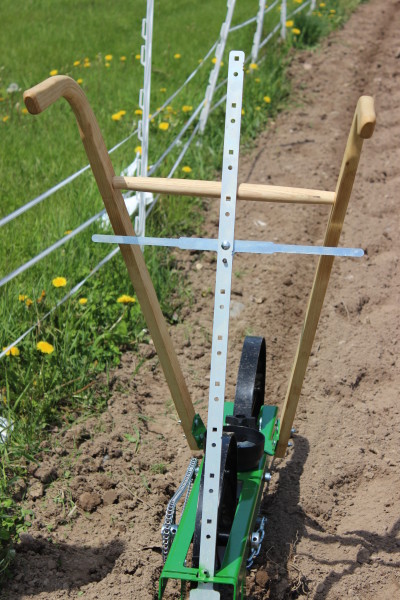
The optional row marker kit installs easily bu placing into the rear slot on the seeder body. You have to slide the row marker toward your future row and pivot it down. You can mark your rows from 6″-36″ in 3″ increments. There are quick reference points at 12″, 24″, and 36″.
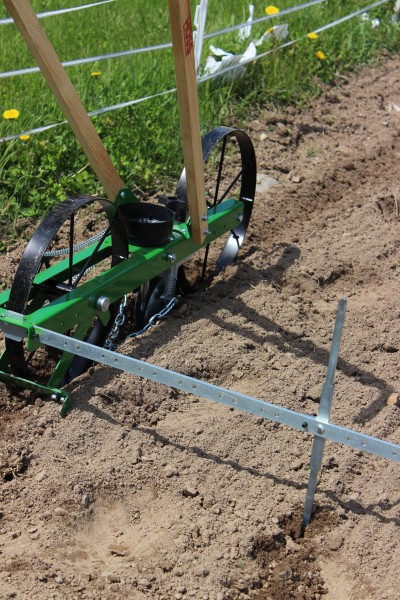
One nice feature to the Hoss Garden Seeder is the rear kick stand. When in use, the kickstand pivots back and drags on the ground.
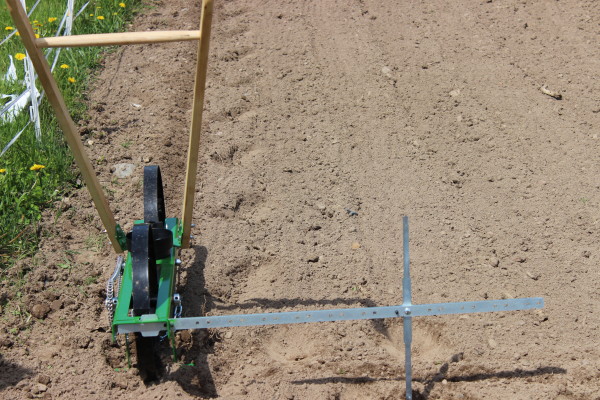
When the seeder is not in use, simply pull back and the kickstand will engage. You don’t have to hold onto it to prop it up and this helps free up your hands to do other things like load the hopper, take a break, storage, etc.
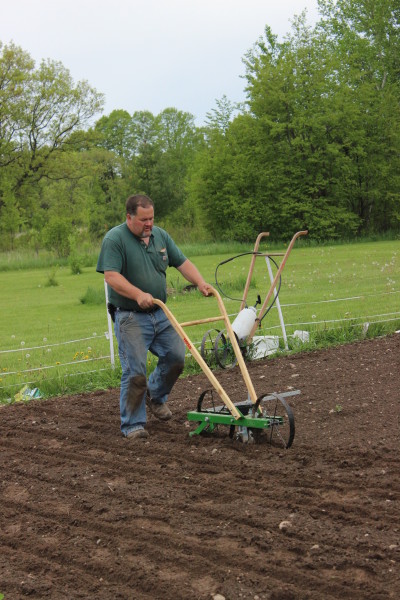
Here are several rows that have been planted.
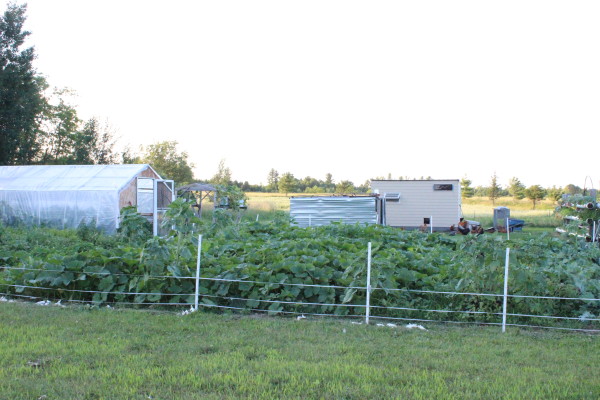
Approximately 50 days after planting, this is what we have.
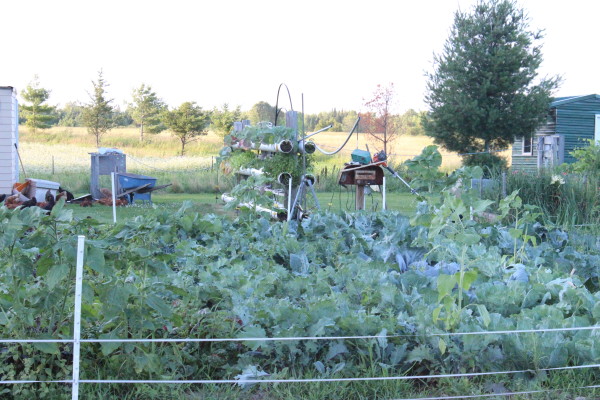
Overall thoughts on the Hoss Garden Seeder –
Pros:
- The overall design of the seeder is durable and easy to use
- Most of the unit comes pre-assembled
- The hopper is removable for emptying out surplus seed
- Ease of adjusting seed depth
- Kickstand allows seeder to stand alone
- Optional seed marker is heavy-duty and allows a variety of row spacing.
- Ability to purchase additional seed plates or customize with blank plates
- Allows you to plant seeds of varying sizes and provides proper spacing to avoid seed wasting
Cons:
- The chain is a little on the light side for heavy soils
- When using the optional seed marker, the adjustable handles must be in the highest position
The Hoss Garden Seeder is available at HossTools.com. It currently retails for $299.99. An optional row marker kit and additional seed plates (7-10) may be purchased.
Disclosure: I received a discounted rate to purchase the Hoss Garden Seeder. No other compensation was received. The thoughts and feelings expressed are my own.

